

I used this handy-dandy chart from the Dress a Girl website. It has all the measurements you might need to make the no-pattern dress. In my own opinion, I think after size 5, the full width of the fabric should be used. For sizes 6 months to a smaller 5, use chart measurements. For sizes 10-11-12, if you are using 42"-44" fabric, put a 3 inch kick pleat or open slit on the back seam. For wider fabric, its not required. Also on the website, is a great armhole template. I printed it, made sure the measurements were correct, and taped to cardboard before I cut it out.


DRESS ONE AND TWO
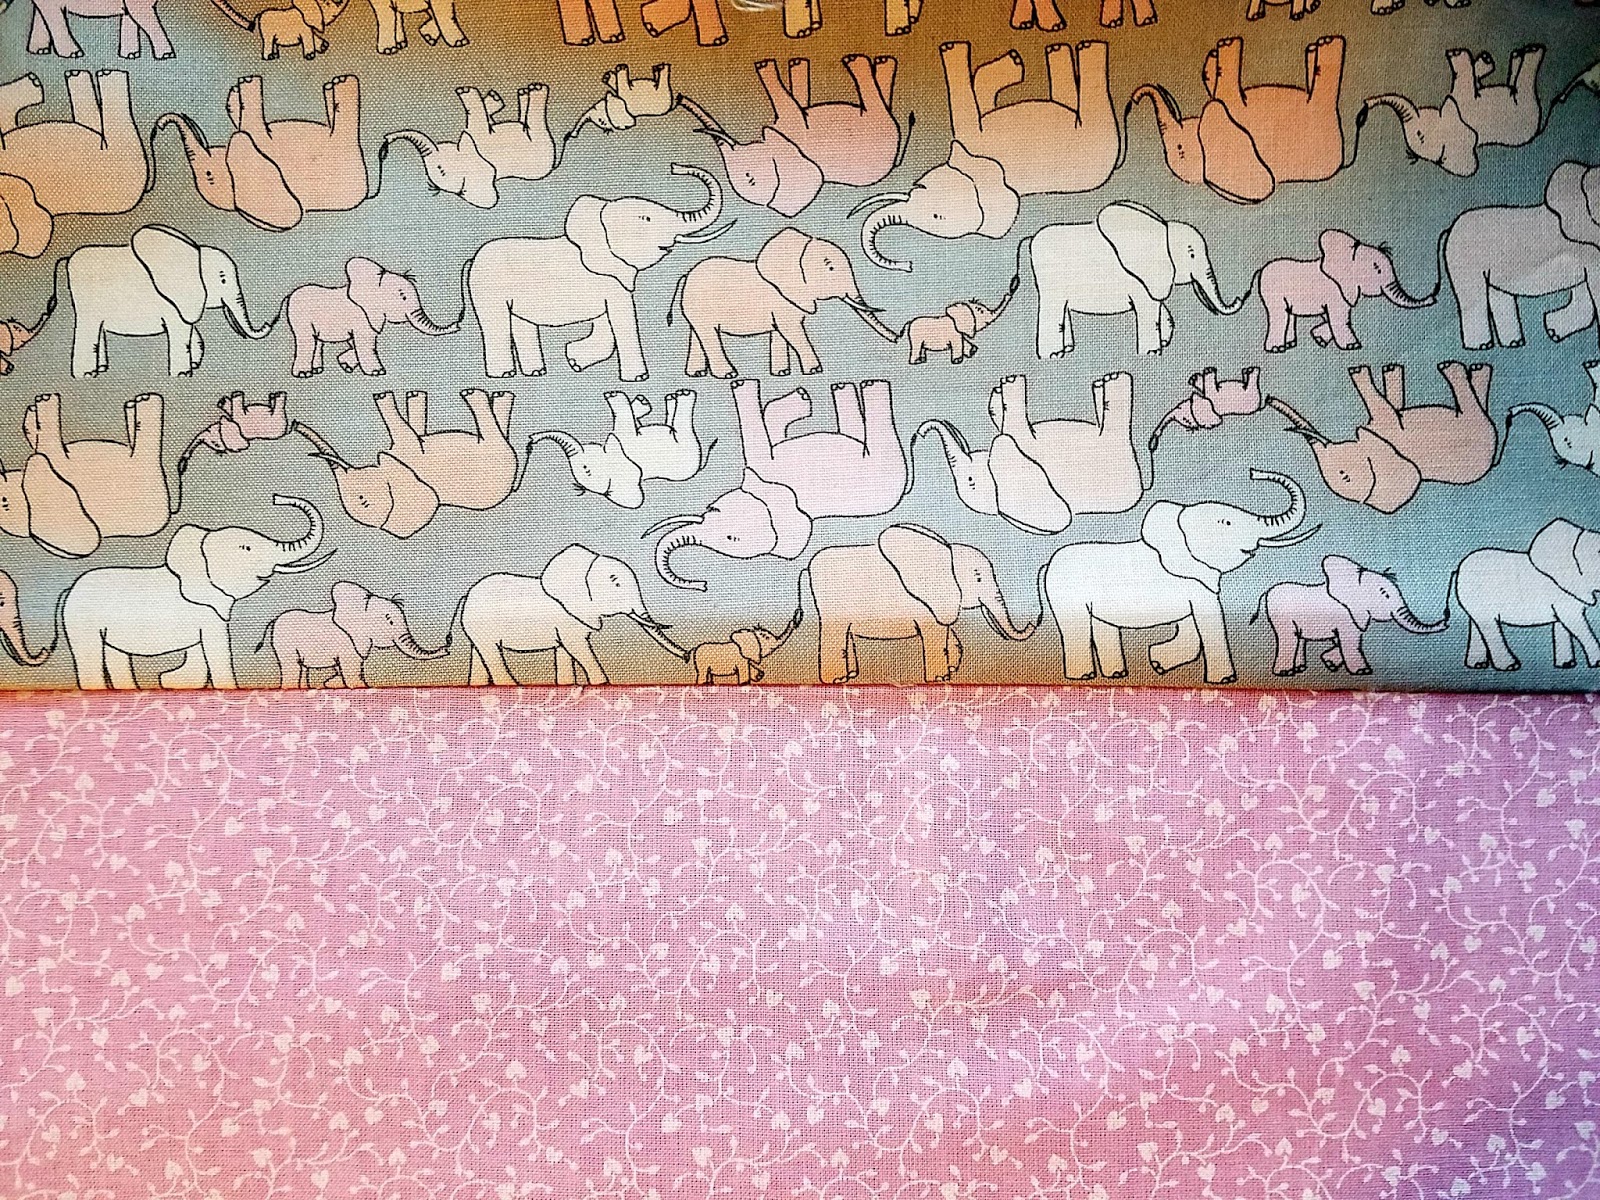
The first thing I did was to cut the the width to the size 5 on the chart. I added an inch extra to the width and length. Then, because it was not long enough, I chose a complementary fabric and added it to the bottom.
All seams are to be finished by using a serger, or a close zig zag stitch, or a French seam. As I want the dresses to be durable, I choose to use a French seam. Not sure how to do a French seam? Its easy!
First, sew your seam with the wrong sides together, 1/4 inch. Your right sides will look like this, with the seam on the front side of the dress.


Iron the seam front sides together, so the seam is enclosed. Now sew the seam again about 1/2 to 5/8 of an inch, which traps the first seam inside. You now have a sturdy, double sewn, encased edge.
 |
| Outside seam |
 |
| Inside seam |
Step Two. The back seam, which I also did as a French seam. Iron the dress flat, centering the back seam down the middle.
Step Three. Time to cut the armholes. With the dress flat and seam centered down the back, fold the dress lengthwise. As in the below photo, you will have one fold down the center, and the other side is the two sides on their folds.


Using the template for size 5, cut out the armholes on the two folded sides.
Unfold the dress flat again, and there are your two armholes.
Step Four. Front and back elastic. Using the chart, cut 2 lengths of 1/2 inch wide elastic to size. For my size 5 dress, I am cutting the elastic to 7 inches. Next, make your elastic casings. There are several ways to do this. You can make a fold over and stitch casing with one row of stitching. You can do it with two rows of stitching (top and bottom) which controls the gathers a bit more, or you can do two rows of stitching, starting about an inch or so down from the top, to make a ruffled look above the elastic.

For these two dresses, I am doing the controlled gathers. Fold down the two top pieces 1/4 inch, then fold again about an inch. Iron and pin. Sew the two rows of stitching.

Put your elastic on the end of a safety pin, and thread through the casing. Sew the ends back
and forth several times to secure.
Step Five. Hem your dress! Make sure you turn under 1/4 inch, and then again to your desired length. The dresses will not need deep hems, they cannot be altered to let the hem down later.
Step Six. Making pockets. The pockets should be no smaller than 6 inches square finished. You may put one or two on your dresses. I cut my squares 6 1/2 inches, 1 of fabric and 1 of lining. You should add your trim to the pocket before sewing on to the dress, it makes it a lot easier! I found out the hard way with this dress. I was under the weather when I made the dress, and did it without trim. Then when I felt better, I added trim after. It was hard for me to sew the trim on the pocket without catching the dress fabric too. From now on, I will decorate first 😊
 Pockets need to be sturdy so little hands or treasures can't tear them.
Sew your squares with right sides together on three sides. Turn right
side out and press.
Pockets need to be sturdy so little hands or treasures can't tear them.
Sew your squares with right sides together on three sides. Turn right
side out and press.For the top edge, I folded and ironed a 1/4 inch, folded again, and sewed it down. After trimming, place your pocket or pockets on the dress where you think best, and sew it, making sure to go over each corner a few times so it won't rip off.


 Step Seven. Adding the ties. Ties are made from double wide, double fold bias tape. You can buy prepackaged, or make your own. Again, refer to the chart for the size needed. For my size 5 dress, I cut two lengths of 34 inches. Pin the middle of bias tape to the middle of the armhole and enclose the raw edges. Starting in the middle or at the end, sew your tape from end to end. Don't forget to tuck in the ends of your tape and sew closed.
Step Eight. Adding trim. Below is a picture of the dress before I added my trim. You may add cotton lace, buttons, embroidery, whatever you want, as long as its washable and sturdy. No craft polyester lace! You can add your trim as you go, or add it after, whatever your preference is. Its probably best to decorate the pocket before attaching, which I will do in the future.
Step Nine. Add the official Dress a Girl Around the World label! Put it on the pocket or the hem or wherever else you think best on the front of the dress.
 |
| Before Trimming |

Here they are, all finished! Its raining outside, so these are not the best inside photos.


Just a suggestion I remembered about sewing on pockets when I was 14 years old: when top stitching the pocket on, at each corner of the pockets, stitch a triangle. So stitch down, back-stitch at an angle to top,then straight stitch to where you started.
ReplyDeleteAnd thank you for the reminder how to do a French seam. I haven't done them in over 10 years.
Val
Great idea about the triangle! And I love French seams, so neat and tidy.
ReplyDelete