Tuesday, June 1, 2021

Dresses 75-77 - Back to the Beginning

 Its been a very long time since I have posted.  Covid shut things down in early 2020, and the world went crazy.   I also developed neck and shoulder problems which prevented me from doing much sewing. Early 2021 brought me Covid, and although I did not have to be admitted to the hospital, I still suffered some long terms effects.  

Its time to get back to sewing!  My daughter has been interested in sewing dresses too.  We went back to the beginning, and I taught her how to make the basic DAG sundress.  Here is her first attempt.

She decided to make a larger size for her first try.  Unfortunately, her machine was not cooperating.  The tension was bad, the thread was breaking.  Very frustrating.  But she did it!.

She chose the fabrics from the stash and cut out the next two dresses.   Although I sewed them, these were her ideas.


So glad to be back in the saddle again!

Sunday, April 26, 2020

Dresses 70 through 74 - Little Lovelies

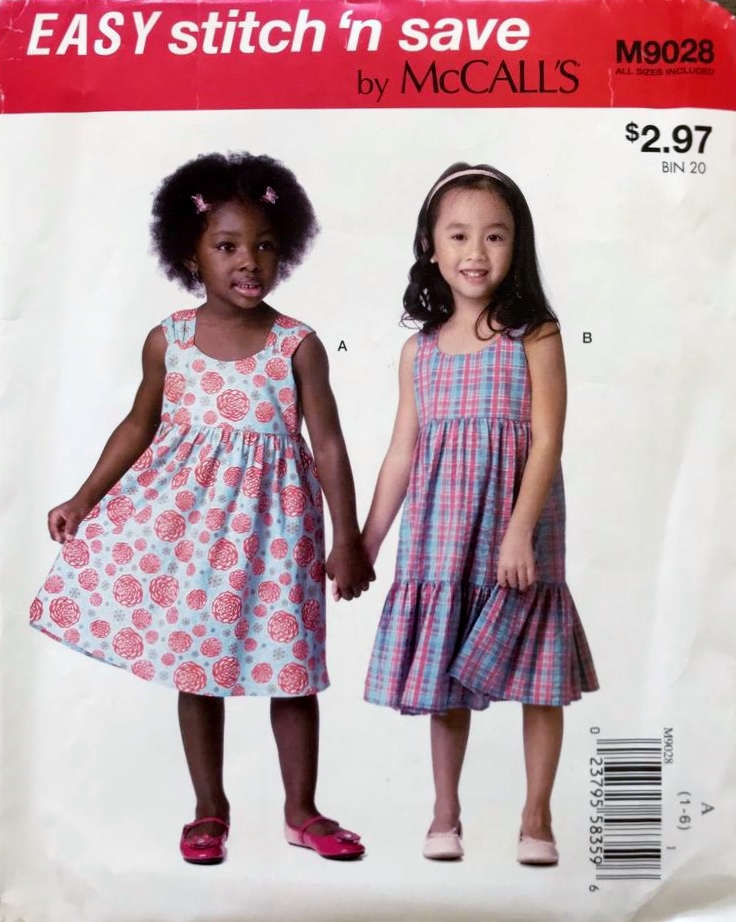
These cute sundresses are made from pattern M9028- McCall's Easy Stitch and Save. I purchased this pattern from Walmart. I bought the small size range, 1-6.

Aren't these little girls adorable?  They look lovely in their pretty sundresses.

This pattern is very easy!  Only a few pattern pieces, and I like that the bodice is lined.  No bias tape or elastic, and slips right over her head.


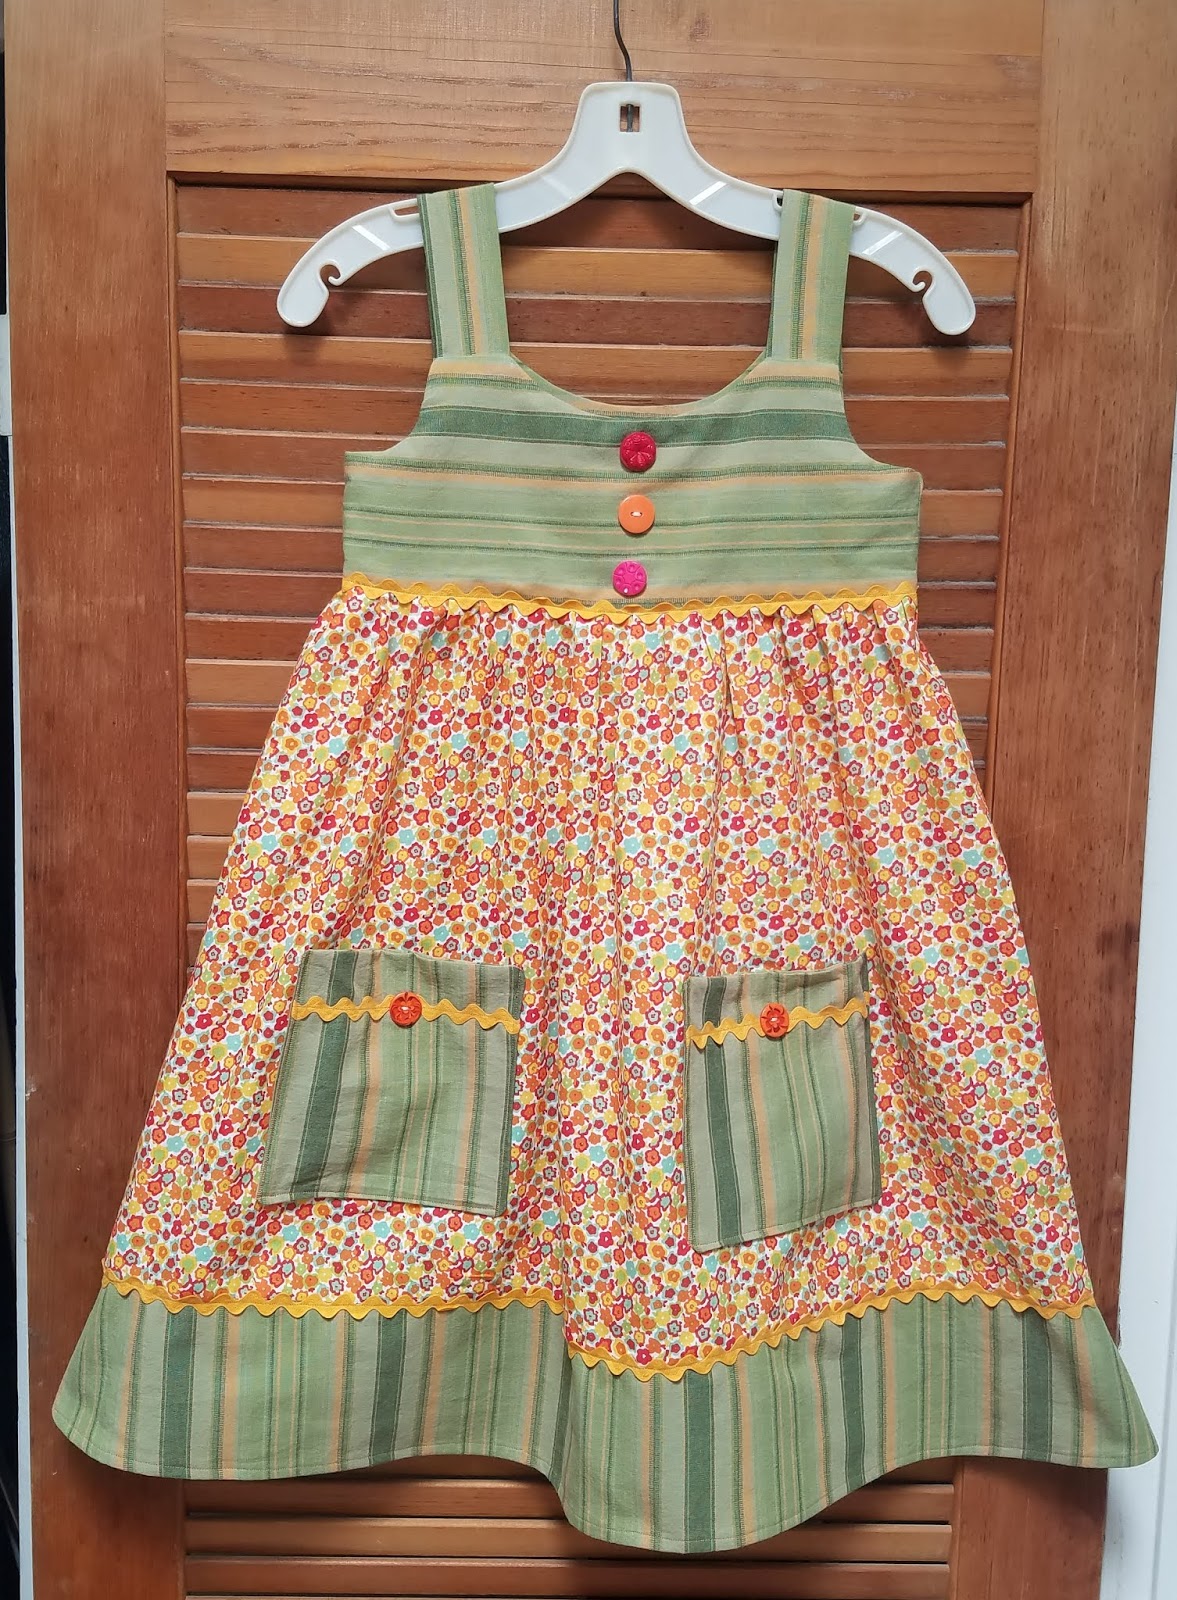
The first dress I made, I used view A.   Its a bit less work than B, which is a tiered dress.  I made the largest size, a 6.  I used pink scraps for the yoke and matching pocket, so the skirt yardage was much less than the pattern calls for.
 The yoke is fully lined, and the skirt is pleated onto the the bottom of it, with the skirt's raw edge hidden in the finished yolk edge.  I added dark pink rick rack for trim, which also helps seal in the raw edges.  The only seams that need reinforcing were the two side seams, which were finished with French seams.

I added three green buttons down the center of the yoke.  The pocket is made from the same pink print as the yoke, with matching dark pink rick rack, and a larger green button.


After I finished the dress to the length from the pattern instructions, it seemed a bit short to me.    I measured the length against the Dress a Girl chart.  It was about 5 inches shorter than the chart for the same size.


When making dresses for this program, you need to make sure there is plenty of length to the skirt.  A lot of modern patterns for girls stop at the knee or a bit above. We need to make these dresses several inches below the knee.
I took out the hem, and had just enough pink left to add about 4-5 inches to the length.  I added more dark pink rick rack above the band.  Much better!


Making the dress.

First, I cut out a 5 1/2 inch strip following the curve of the skirt, and sewed it on.  Next, I sewed the sides with French seams.  I then added trim above the band, and sewed a small hem.  My helper is working with me today.


Next, is the bodice.    Sew the front to the back for your fashion fabric down the sides, and then sew the lining the same.  Turn the fashion fabric right side out.  Sew your two strap pieces down the long side and turn.  Baste them to the outside of the front of bodice at the shoulders.


Put the outside of the fabric inside the lining fabric, right sides together.  let the straps hang down straight.  Leave the bottom open, and sew around the neckline and armholes, leaving the back bodice shoulders open.

Turn right side out and iron.  Your front straps are connected, but we need to attach to the back shoulder area.  Feed the other end through the opening in the back shoulder.


Turn  inside out again, and line up the raw edge of the strap with the raw edges of the shoulder opening.  Sew across.

Turn right side out again, and done with the bodice.  Iron again and if you want, you may top stitch all the way around.


Next, attach the skirt to the yoke.  Pin the side seams of skirt to  bodice, and the mid front and back points.  Pleat or gather the four sections equally leaving the lining free.  Turn inside out and fold the lining over the raw edges of the seam, and sew closed.

Make your pockets and attach.  Not sure where to attach your pockets?  fold the dress in half, shoulders to hem.   The line where it is folded is where you place the top of your pockets.


Here are a few more I made.  I hope you like them 😀


Monday, April 20, 2020

Dresse 63 through 69 - Myria's Rose Garden

My Victorian Roses Ladies Riding Society sister, Myria "Ebony Rose", donated several yards of this yellow with pink roses print to make dresses for the girls.  Here is Ebony Rose riding Eddie in one of our group's photo shoots. These dresses are all part of  Myria's Rose Garden.

For the dresses, I used the following pattern:


EASY SUMMER MUUMUU  by PrettyPrudent.com.

It is similar to the peasant dress in construction, but the dress is fuller, and the sleeves are set in differently under the arm.   Here is the link to the pattern:   Instructions/pattern download

I downloaded the pattern and taped it together. I actually only used the body and sleeve patterns, and constructed the dresses differently than the original summer muumuu instructions. 

Below are the pieces I used. I cut two bodies on the fold.  From fat quarters, I cut two sleeves on the fold.  I did not cut out the decorative strips to sew on the bodice.  I also cut one or two pockets from the same fat quarter as the sleeves when there was enough fabric.


I used the same method as the previous peasant dresses I made, sewing together like this diagram of the peasant dress pattern. The sleeve shape is a bit different, but you can attach the same way.   The summer muumuu instructions has you make 4 different elastic casings at the top of each piece before sewing together.  I preferred to sew all pieces together, then make one continuous casing.


Wednesday, April 15, 2020

Dresses 59, 60, 61 and 62 - Life is Just a Chair of Bowlies

I had one fat quarter of the cutest cherry fabric, that had the saying "Life is just a bowl of cherries".  It reminded me of the Mary Engelbreit print, Life is Just a Chair of Bowlies.


 I turned that little fat quarter into the sleeves of a peasant dress.  There wasn't enough for  full pockets, so I added scraps across the top of each pocket, made from the same red fabric as the body of the dress.  I used bias tape to decorate the edges of the pockets.


 I also had a scrap of pink and white stripe fabric with cherries on it. I used the August dress pattern, and got the yoke cut out, and one pocket. From the left over scraps, I pieced together a second pocket, covering the seam with green rick rack trim. I made the pockets different from each other to be interesting.  I paired it with a green and white stripe for the skirt portion.

   I have a few yards of each of the following two tutti fruiti fabrics, so you will probably be seeing more dresses from it later.  

Dress on the left has cherries, strawberries and lemons - and sparkles!  I used citrus green for the sleeves with orange rick rack.  The pockets are sunny yellow with matching green contrast, orange rick rack and green buttons.

Dress on the right has cherries, pineapple, watermelons and.... carrots? Lol  Again, I used another green for sleeves, and gave it the same pocket treatment as the other dress.


Tuesday, March 31, 2020

Dresses 55 through 58 - Emily's Poem

Nobody knows this little rose,
It might a pilgrim be.
Did I not take it from the ways,
And lift it up to thee!
Only a bee will miss it,
Only a butterfly
Hastening from far journey,
On its breast to lie.
Only a bird will wonder,
Only a breeze will sigh.
Ah! Little rose how easy
For such as thee to die.
                  Emily Dickinson 
   

This is my favorite Emily poem.   I made a cute bee dress, which reminded me of the poem, and I decided to make dresses that went along with the poem.  I dug through my stash and came up with these fabrics to complete the garden's inhabitants.

1.  The Rose.  At the moment, this is the closest flower I have to a rose 😀    They look more like a peony, which is a kind of rose....   This is the Dress a Girl pattern.   I used a half yard floral fabric and added a micro dot dark pink for a bottom band, and the yoke.  Matching pink bias tape ties were added, along with white rick rack trim and a scrap of pink lace on the pocket.


2.  The Bee.  I had nearly a full bolt of this Michael Miller bee fabric.  This is the second dress I've made from it.  I really love the Peasant dress, my quick go-to pattern.  I paired this one with a black and white print  that is busy like a bee.  Some white rick rack trim and 3 black buttons for decoration.


 3.  The Butterfly.  This adorable border fabric has both butterflies and bees on it!  I used a Spring green fat quarter for sleeves and pockets, and some pre-gathered check ruffles around the bottom.  The words across the bottom say "Bees and Butterflies flying in the field"


4.   The Bird.  Pretty birdies on a flowering branch, with butterflies, nests and birdhouses in the background.  I have more of this print and will make other dresses.  I used a blue floral for a bodice and pockets, with lace trim and buttons on the pockets.


Friday, March 20, 2020

Dresses 50 through 54 - Audrey's Assortment

Here are an assortment of styles made from fabrics donated by my friend Audrey W.

 First up, back to basics with the official Dress A Girl pattern, found on the Dress A Girl Around the World website.   I love this fabric!  Oranges from sunny California being sent almost halfway around the world.

You can get the pattern two ways:

1.   If you are just joining DAG, you might want to order a kit from the DAG website for your first dress.  It includes fabric and instructions, everything you need.   link to kit

OR

2.  Make your own using your fabric with this cutting chart and armhole template  template link


Next, I made two dresses from the August dress pattern (see earlier post on construction).  These are complementary dresses, maybe for some sisters or best friends. Such a cute little sheep print!  I used a bright pink dot for the bodice and contrast on one, and a light pink floral for the other.  I added trim and three decorative buttons to the bodice using upholstery thread to secure them.


I also made two peasant dresses from one yard each of a vintage garden print and a grey and cream paisley pattern. The blue sleeves and pockets on the garden print are made from fat quarters. I also used a mint green lace trim on the hem, sleeves and pockets.  The red paisley print sleeves, pockets and contrast on the grey dress were made from a remnant.  I added two decorative red buttons, using upholstery thread to secure them.

Again, I love this easy and fast pattern.  See my last post on where to download it.  I also like the new white labels instead of the purple ones.  They blend better with the dresses.

HAPPY SEWING EVERYONE!

Sunday, March 15, 2020

Dresses 40 through 49 - Sensational Skirts

These skirts are made for the older girls and young women, who want to wear something more modest and age appropriate.   Here is a photo from a recent visit.

They seem to wear any kind of top with the skirts. I have some solid T-shirts to send with the ones I make.

Here is the easy pattern I used. This is a very basic skirt, made from a single pattern piece cut twice on the fold. Sew the side seams, make a casing for elastic at the waist, and hem.  That's it!  If you want, you can sew a pocket in the side seam, or add an outside pocket.  I used view E.

I was able to cut out 10 skirts in about an hour, since its its only two pieces.   I am going by waist size, from about 24 inches and up.


I made these assembly line style.  Here are the steps:

1.  I cut out the two pieces, varying the sizes.

2.  I made a ton of pockets 😀  Ten sets.  I used the same fabric so they would blend better as a whole.  A simple piece of trim completed them.

3.  Next, I applied the pockets to the front piece.  First, I folded the top down between 8-9 inches, depending on the length of the skirt.  Second, I place the top of the pocket on the fold line, approximately 2 1/2 inches from the side seam and sewed them on.


4.  I sewed the sides up with French seams.

5.  Ironed and folded down the waist to make a casing for the elastic.  Insert 1/2 inch wide elastic.

6.  Ironed the hem and sewed.   All done!

Here are the skirts.  I show eight of the different prints, because I made two of the ten skirts from the pink fabric, and two from the blue fabric.


The two dark blue flowered ones are the smallest, with a 24-26 inch waist and length of 32 inches, and the green/yellow stripe and blue lily of the valley prints are adult sized, with a 32-34 inch waist and length of 34 inches.  I will probably make more of these as they are pretty easy.  If you are a beginning sewer, these skirts would be perfect for you to make.